 Skagit County
 Installing siding in Burlington isn't just a matter of nailing panels to a wall — it's building a moisture-management system that has to survive salt-laden air drifting in off Skagit Bay, wind-driven rain that pushes water sideways into every gap, and a moss season that runs longer here than it does in drier parts of the state. Homeowners planning a siding installation project in this part of Skagit County are often surprised at how much the installation details matter compared to the material itself. This page walks through what a correct siding installation actually involves in Burlington, why we install one product exclusively, and what our process looks like from first estimate to final walkthrough.
What Burlington's Climate Demands From a New Siding Installation
Burlington sits low in the Skagit Valley, close enough to tidal water to pick up salt air on a regular basis and shaded enough on many lots — by trees, by neighboring structures, by the valley's own topography — to hold moisture against north-facing walls far longer than a sunnier site would. Add driving rain from Pacific storm systems, which doesn't fall straight down so much as get pushed horizontally into wall assemblies, and you have three conditions working against a poorly installed siding job at once. None of these are dramatic. They're slow. A gap in flashing, a joint that wasn't sealed correctly, a fastener pattern that doesn't account for wind exposure — none of it fails on day one. It fails two, three, five years in, quietly, behind a wall that looks fine from the driveway.
Why Installation Quality Matters More Here Than in Drier Climates
In a drier climate, a mediocre installation might go a decade before any of its shortcuts show up as a real problem. In a valley that stays wet most of the year, that same shortcut gets tested constantly. That's why we treat installation detail — not just material selection — as the thing that actually determines how a Burlington home's siding performs over the next 30 years.
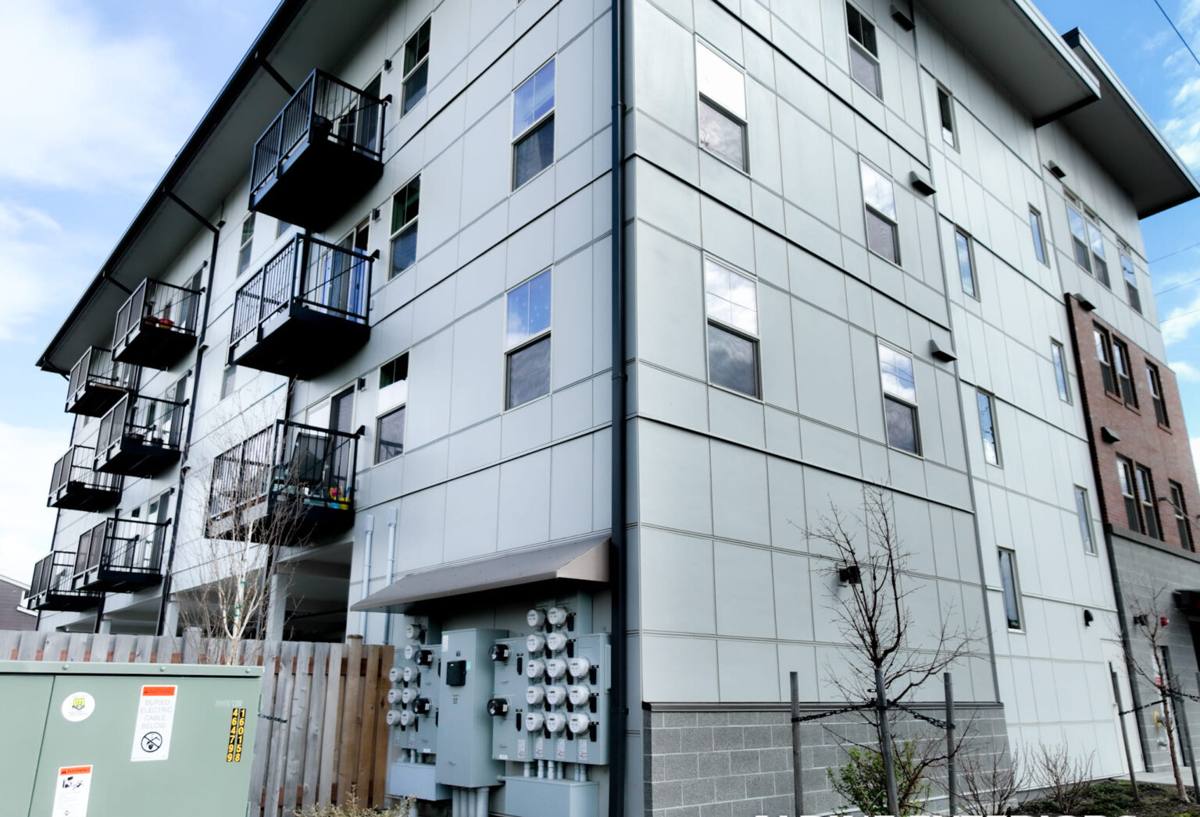
Why We Install Only James Hardie Fiber Cement
We install one siding product on every job in Burlington: James Hardie fiber cement. We don't offer vinyl, LP SmartSide, Cemplank, Allura, primed spruce, or cedar, and that's a professional standard we hold to rather than a limited product lineup we'd rather not have. Each of those alternatives does something well — vinyl is inexpensive, engineered wood installs quickly and takes paint well, cedar has real natural character — but each also carries a trade-off that we think matters too much in this specific climate to put our name behind.
Vinyl expands, contracts, and can grow brittle with age and temperature swings, and its seams and J-channels are exactly the kind of gap that wind-driven rain works into over time. Wood-based products depend on flawless field priming and sealed cut edges to keep an organic substrate from absorbing sustained moisture — a demanding standard to hold across every job, every year, forever. Cedar looks great and ages with character, but it's organic too, and it asks for real upkeep — refinishing, sealing, moss control — in a valley that doesn't offer much of a dry stretch to do that upkeep in between storms.
What Fiber Cement Changes About the Installation Itself
Fiber cement isn't organic, so it doesn't feed moss growth or rot the way a wood-based substrate can, and it holds up to sustained dampness in a way that changes what "correct installation" even means — the priority shifts from protecting a vulnerable substrate to managing water at the joints, laps, and penetrations. James Hardie also builds HZ product lines engineered specifically for regions with sustained moisture and coastal exposure, rather than one generic formulation sold everywhere in the country. Paired with a factory-applied ColorPlus finish, cured under controlled conditions rather than painted on-site in unpredictable Skagit weather, the finish holds color and resists cracking longer than most field-applied paint manages here.
What a Correct Siding Installation Actually Involves
The material is only half the equation. The other half is a set of installation steps that, done correctly, keep water out of the wall assembly for the life of the product — and done poorly, guarantee a problem down the road regardless of what siding is on the wall.
Tear-Off and Substrate Inspection
Every installation starts with removing the old siding and inspecting what's underneath. This is the point where hidden moisture damage, soft sheathing, or prior flashing failures get found — and it's also the point where a rushed crew skips ahead instead of dealing with what they find. We inspect and repair the substrate before anything new goes up, because covering a moisture problem with new siding doesn't solve it.
Weather-Resistive Barrier and Flashing
A correctly installed weather-resistive barrier, with flashing integrated at every window, door, and roofline transition, is what actually keeps wind-driven rain out of the wall — the siding itself is the second line of defense, not the first. Flashing has to be lapped correctly, in the right order, sealed with the right materials, at every single penetration. This is the step most likely to get shortcut on a rushed job, and it's the step most likely to cause a leak years later when it is.
Clearance and Fastening
Proper clearance from grade, decks, and patios keeps the bottom edge of the siding out of standing moisture and splash-back. Fastener pattern and spacing need to match the specific Hardie product line and the wind exposure of that particular wall — a corner exposed to prevailing storm winds needs a different approach than a sheltered wall behind another structure.
Joint Treatment by Wall Exposure
Not every wall on a Burlington home ages the same way. A shaded, north-facing wall holds moisture and grows moss faster than a sun-exposed south wall two corners over. Joint and seam treatment should account for that difference wall by wall, not follow one blanket approach regardless of exposure.
Our Installation Process, Start to Finish
We walk every Burlington property in person before writing an estimate, because the right installation approach depends on that specific home's exposure, shade, and existing condition — not a generic template. From there, our process follows a consistent sequence on every job.
- On-site assessment of existing siding, substrate condition, and wall-by-wall sun and shade exposure
- Written scope of work detailing material, flashing approach, and estimated timeline before any contract is signed
- Tear-off and substrate inspection, with any hidden moisture or rot damage addressed before new material goes up
- Weather-resistive barrier installation and flashing integration at every window, door, and roofline transition
- James Hardie panel or lap installation with fastening and clearance matched to that wall's exposure
- Trim, joint, and caulking detail finished to manufacturer specification
- Final walkthrough with the homeowner before the job is considered complete
Correct Installation vs. a Shortcut Installation
| Step | Shortcut Approach | Correct Approach for Burlington |
|---|---|---|
| Substrate inspection | New siding installed directly over old, without checking what's underneath | Full tear-off and inspection, hidden moisture addressed before new material goes up |
| Flashing | Standard flashing applied the same way regardless of wall exposure | Flashing lapped and sealed to account for wind-driven rain at each specific opening |
| Fastening | One fastener pattern used across the whole house | Pattern adjusted for wind exposure and specific Hardie product line |
| Joint treatment | Same caulking approach on every wall | Adjusted for sun-exposed versus shaded, moss-prone walls |
| Finish | Field-applied paint that needs recoating on a shorter cycle | Factory-baked ColorPlus finish, less field maintenance over time |
What Drives the Cost of a Burlington Siding Installation
We don't publish blanket pricing because an honest number depends on the specific house — but the factors that move a project's cost up or down are consistent enough to explain plainly.
| Factor | How It Affects Cost |
|---|---|
| Substrate condition found at tear-off | Hidden rot or moisture damage adds repair scope before new siding goes up |
| Home size and wall complexity | More corners, gables, and penetrations mean more flashing detail and labor time |
| Siding profile chosen | Board-and-batten or heavier trim packages run higher than standard lap siding |
| Site access | Tree cover, tight lot lines, or difficult staging can add labor time |
| Existing exterior removal | Full tear-off of old siding versus a simpler recover situation changes scope |
What to Verify Before Hiring a Siding Installer in Burlington
- Manufacturer training or certification specific to James Hardie fiber cement installation
- A clear, specific explanation of how flashing will be handled at every window, door, and roofline transition
- Current licensing, bonding, and insurance you can verify independently before signing anything
- A written scope of work covering both material and installation method, not just a materials list
- A track record of installations specifically in Skagit County conditions, not a general regional service claim
- Warranty terms — both manufacturer and installer — that you can read and understand before committing
Why a Local Burlington Crew Matters for This Job
A crew that installs siding across Burlington and the rest of Skagit County regularly sees how a shaded, north-facing wall ages compared to an open, south-facing wall on the same street — and adjusts flashing, fastening, and joint treatment accordingly. That judgment comes from repetition in this exact climate, not from a general specification sheet written for the whole country. It also means someone is reachable locally if a warranty question comes up years down the road, rather than tracking down a crew that's since moved on to another region.
Caring for New Siding Once It's Installed
A correctly installed, climate-appropriate siding job still benefits from basic seasonal attention in a valley like this one. Keeping gutters clear ahead of the wet season prevents overflow from soaking siding and trim at the eaves. Checking shaded, north-facing walls periodically for early moss growth — and addressing it before it spreads — keeps moisture from sitting against the surface for extended periods. Inspecting caulked joints at trim and penetrations every year or two catches small gaps before wind-driven rain finds them. None of this is heavy maintenance, but it's real, and a crew that installed the job correctly should be able to tell you exactly what to watch for on your specific house.
Ready for a Free, No-Pressure Estimate
If you're planning a siding installation project on a Burlington home, we're happy to walk the property with you and give a straight assessment of what it actually needs — no pressure, no generic sales pitch. Reach out for a free estimate and we'll talk through the details specific to your house.