 Skagit County
 Building New in Conway: Windows Are a Systems Decision, Not a Shopping Decision
Conway sits low in the Skagit River delta, close to the water, with open exposure to wind off the flats and the kind of driving rain that comes sideways more often than straight down. If you're framing a new home or a new addition here, the windows you choose and how they're installed will do more to determine your long-term maintenance load than almost any other exterior decision. New construction gives you one real advantage over a retrofit: the wall isn't finished yet. That means the flashing, the water-resistive barrier, and the window itself can all be integrated as one continuous system instead of patched together after the fact. Get that sequence right during framing and you won't think about your windows again for decades. Get it wrong and you're chasing rot behind the trim in twelve years.
We install new-construction windows on homes and additions throughout Skagit County, and Conway's combination of salt-tinged air, sustained damp, and a moss season that can run half the year shapes some specific choices we make on jobs out here.
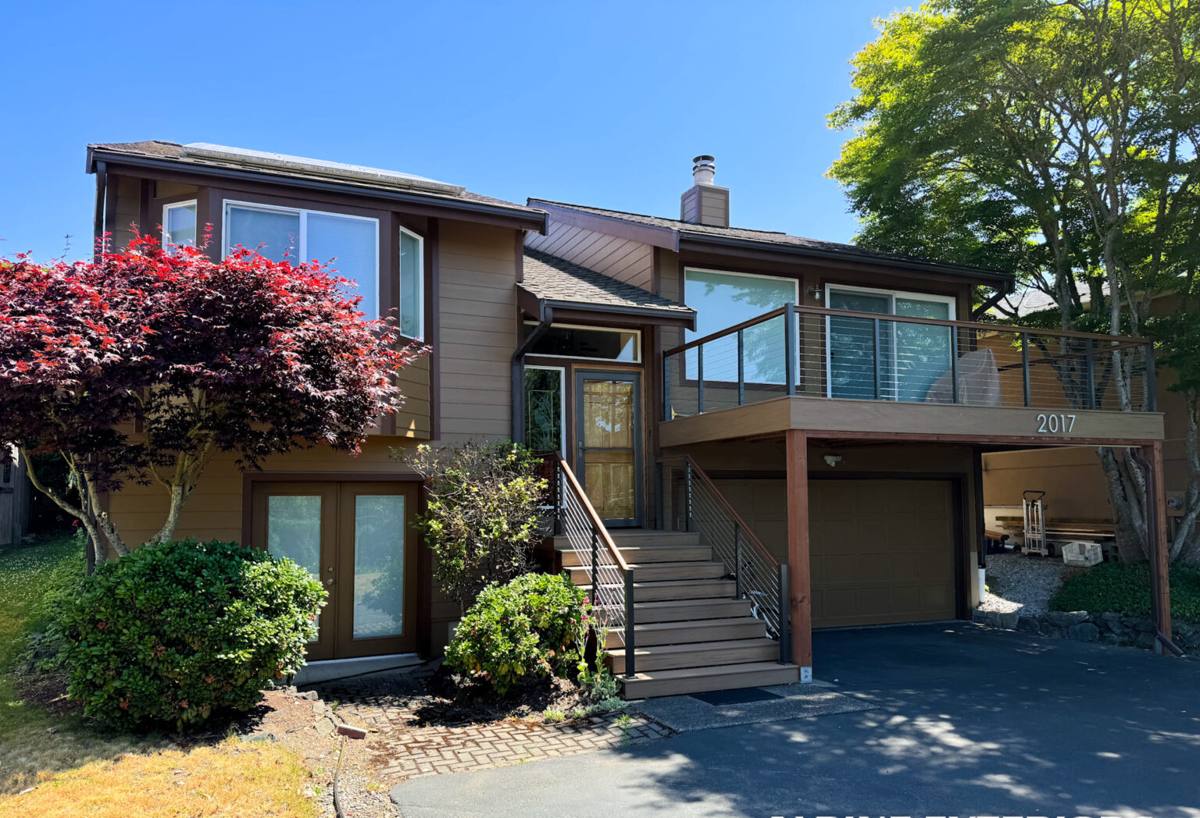
What Conway's Climate Actually Does to a Window Opening
Salt Air and Wind-Driven Rain
Proximity to Puget Sound and the Skagit Bay flats means fasteners, flashing tape, and cladding fasteners near new window openings deal with more airborne salt than homes further inland. That doesn't mean every material fails — it means we're deliberate about corrosion-resistant fasteners and flashing components in this specific pocket of the county, and we don't treat a Conway install the same as one on the east side of the valley.
Long Moss and Damp Season
Skagit County's moss season can stretch from fall through spring. On a finished home that shows up as green streaking on siding and roofs. During construction, the same conditions mean an open wall cavity or an unprotected rough opening can sit wet for days between framing and window-in. Sequencing matters — we plan window installs to minimize how long a rough opening is exposed, and we make sure sill pans and flashing are in place before any water has a chance to find its way into the framing.
Delta Ground and Humidity
Low-lying delta land holds moisture in the air near the ground longer after a storm than higher ground does. That sustained ambient humidity is part of why we're conservative about sealant choices and drying time before a window opening gets covered — rushing a step because the forecast looks clear for an afternoon isn't worth it when the humidity lingers regardless.
What a Correct New-Construction Window Install Actually Involves
"New-construction window" refers to the window's flange style — it has a nailing fin that fastens directly to the sheathing, as opposed to a retrofit/replacement window that fits inside an existing frame. Because the wall is open, this is the installation method that lets us build a genuinely continuous water management system rather than working around what's already there.
The Sequence We Follow
- Rough opening is cut and checked for square, level, and correct dimensions before any window arrives on site
- A sloped sill pan is installed at the bottom of the opening so any water that gets past the window has a path back out, not into the wall
- Water-resistive barrier is integrated with the opening using a shingle-lap sequence — house wrap or building paper laps over the top flashing, never under it
- The window is set plumb, level, and square, then fastened through the nailing fin per the manufacturer's schedule
- Flashing tape seals the fin to the sheathing and WRB in the correct overlap order — sides first, then top, so water always sheds downward and outward
- Head flashing is installed above the window, extending past the sides, to break the path of water running down the wall above the opening
- Interior and exterior sealant beads are placed only where they belong — sealing the wrong gap can trap water instead of stopping it
- Openings are inspected before siding goes on, while the flashing is still visible and correctable
That last step matters more than it sounds like it should. Once siding is up, a flashing mistake is invisible until it shows up as a stain or soft spot years later. We check our own work while it's still easy to fix.
Why the Order of Operations Isn't Optional
Every layer in that sequence relies on the one before it being done correctly. A sill pan installed after the WRB is already wrapped, or head flashing tucked under the wrap instead of over it, defeats the purpose of the whole system even though it looks fine from the outside. This is the kind of detail that's genuinely hard to inspect after the fact — which is exactly why it has to be done right the first time, on a schedule that doesn't get rushed to hit a framing deadline.
Choosing Window Products for This Part of the County
We install a range of vinyl and fiberglass window lines, and for Conway builds we steer conversations toward frame materials and glazing packages that hold up to sustained damp and salt-tinged air without high maintenance demands. Wood-clad windows can look excellent, but on a home this close to the water, exposed wood exterior components mean a maintenance commitment — repainting or refinishing on a schedule — that not every homeowner wants to sign up for. We'll install what you choose, but we'll tell you honestly what upkeep it requires before you commit.
| Factor | What to Weigh in Conway |
|---|---|
| Frame material | Vinyl and fiberglass shed moisture well and need little upkeep; wood-clad looks great but needs periodic exterior maintenance near salt air |
| Glazing package | Double-pane with a low-E coating is standard; consider argon fill and a warmer-edge spacer for west and water-facing walls |
| Fastener and flashing hardware | Corrosion-resistant fasteners and flashing components are worth the small upcharge this close to Skagit Bay |
| Operable style | Casement windows compress against the frame for a tighter seal in wind-driven rain; sliders are lower-maintenance but rely more on weep design |
| Screens and hardware finish | Ask about corrosion-rated hardware finish for anything within a mile or two of open water |
Sizing and Placement Decisions Worth Making Before Framing Locks In
New construction gives you flexibility a remodel doesn't — window size, placement, and count can still shift during design. A few things worth thinking through before the framer sets trusses:
Overhangs and Exposure
Roof overhang depth directly affects how much wind-driven rain a window face sees. Homes in open, wind-exposed parts of Conway benefit from slightly deeper overhangs over west- and southwest-facing windows, where storms typically hit hardest. If your design has minimal overhangs, that's a reasonable choice architecturally, but it does raise the importance of getting the flashing detail right, since the window will see more direct weather.
Window Count and Wall Penetrations
Every window is a penetration in the water-resistive barrier. That's not a reason to under-window a house — it's a reason to make sure whoever's flashing those openings is treating each one with the same care, whether it's the first window on the job or the fortieth. We flash every opening to the same standard regardless of how repetitive the day gets.
Our Process for a Conway New-Construction Job
- Plan review: We look at window schedule, rough opening sizes, and elevations before framing starts, so there are no surprises when windows arrive.
- Coordination with your builder or GC: We work directly with your framer's schedule so windows go in at the right point — openings ready, WRB staged, no gaps in the timeline that leave a rough opening exposed longer than necessary.
- Installation: Sill pan, WRB integration, window set, flashing, and sealant, following manufacturer instructions and the sequence above.
- Pre-siding inspection: We walk every opening before siding closes it up, and fix anything that doesn't meet our standard on the spot.
- Documentation: You get a record of what was installed and how, useful for warranty claims and for your own records if you sell the home down the road.
Why Hiring a Crew That Already Works Conway Matters
Flashing details that work fine on a dry, sheltered inland lot aren't automatically the right call on a delta property that catches wind off the flats. A crew that's worked new construction throughout Skagit County — not just in one neighborhood — has seen how these details perform over years, not just at final walkthrough. We know which upgrades are worth the money on a water-exposed site and which are unnecessary on a sheltered one, because we've followed up on both kinds of jobs later. That local pattern recognition is hard to get from a crew that's never worked this stretch of the county before.
We also carry the trade knowledge to coordinate cleanly with your builder's schedule — showing up when the rough openings are actually ready, not before framing is square and not so late that the opening's been exposed to weather longer than it should be.
What This Typically Costs
New-construction window installation is generally priced per opening and scales with window size, quantity, glazing package, and site access. A modest single-family home with a dozen or so openings and a mid-grade vinyl or fiberglass window package typically lands in a broad mid-four-figure to low-five-figure range for installation labor alone, before the windows themselves — larger homes, premium glazing, or complex elevations push that higher. The only way to get a number that means anything for your build is a look at your actual plans and window schedule.
Let's Look at Your Plans
If you're framing a new home or addition in Conway, we'll walk your window schedule and rough opening details with you, flag anything worth adjusting before framing locks in, and give you a straightforward estimate — no pressure, no upsell on products you don't need. Fill out the form below and we'll get in touch.