 Skagit County
 Conway Sits Where the River Meets the Bay — and Siding Feels It
Conway is low, flat delta land where the Skagit River system drains toward Skagit Bay, with farmland and scattered tree cover instead of hills or ridgelines to break the weather. That geography matters more to your siding than most homeowners realize. There's little to slow down wind coming off the water, moisture from the bay hangs in the air longer than it would a few miles inland, and the flat, open exposure means storms move through with less to blunt them. Siding here isn't decorative — it's the first line of defense against a climate that pushes moisture at your walls from more directions than a typical Puget Sound suburb.
Salt Air and Marine Moisture
Proximity to Skagit Bay means a steady trace of salt in the air, especially on days with an onshore breeze. Salt-laden moisture is harder on fasteners, trim, and paint film than plain rain. Over years, it accelerates corrosion on anything that isn't rated for coastal exposure and breaks down lesser paint and coating systems faster than inland weather would. Any siding product installed in Conway needs a finish and hardware system built to shrug this off, not just tolerate it for a season or two.
Driving Rain and Wind-Driven Wet Walls
With nothing to interrupt it, wind-driven rain hits Conway walls at an angle, not straight down. That means water gets pushed into laps, seams, and trim joints that would stay dry on a calmer site. Siding systems that rely on tight tolerances or perfect field sealing to stay watertight are the first to show problems here — the water finds the one seam that wasn't caulked quite right.
Moss Season and Shaded North Walls
Skagit County's long, wet fall-through-spring stretch is prime moss and algae season, and Conway's mix of farmland, mature trees, and low sun angles keeps shaded walls damp for extended periods. Moss doesn't just look bad — it holds moisture directly against the siding surface, which shortens the life of anything that isn't dimensionally stable and rot-resistant underneath.
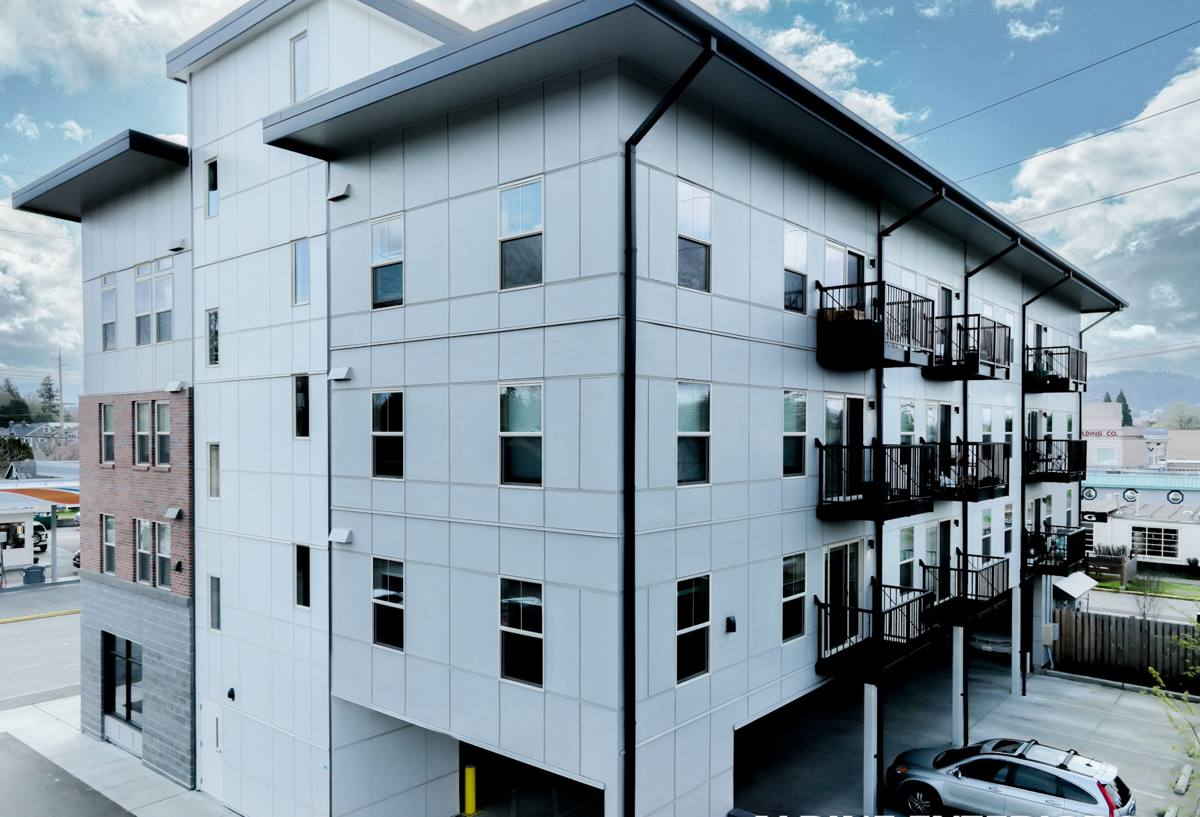
Why Fiber Cement Outperforms the Alternatives Here
We get asked why we don't install vinyl, LP SmartSide, or bare wood siding in this area. The honest answer is that each of those products makes sense in some climates, but Conway's combination of salt air, driving rain, and moss exposes their specific weak points.
| Material | Salt Air / Corrosion | Wind-Driven Rain | Moss & Moisture | Long-Term Maintenance |
|---|---|---|---|---|
| Vinyl | Doesn't corrode, but can chalk and fade in marine air | Panels can flex and let water track behind at seams | Traps moisture behind panels where it can't be seen | Low, but limited lifespan and repair options |
| Engineered wood (LP SmartSide) | Wood substrate is moisture-sensitive by design | Edge swelling risk if caulking or paint fails | Organic material is more vulnerable to prolonged dampness | Regular repainting and edge sealing required |
| Bare or primed cedar | Weathers unevenly in salt exposure | Absorbs water directly, prone to cupping and splitting | Highly susceptible without constant upkeep | High — frequent refinishing |
| James Hardie fiber cement | Non-organic, engineered for coastal/marine exposure | Dense, stable material resists water intrusion at properly built seams | Resists moisture absorption; factory finish resists staining | Low — occasional washing, no repainting cycle |
This is exactly why we standardized on James Hardie fiber cement and stopped installing the alternatives, even though each has a place somewhere. In Conway's climate, the trade-offs aren't worth it.
What James Hardie Brings That Generic Fiber Cement Doesn't
Not all fiber cement is engineered the same way, and the difference shows up over time, not on day one.
- Climate-engineered HZ product lines: Hardie's HZ5 formulation is engineered for the wetter, colder Pacific Northwest climate zone Skagit County sits in, rather than a one-size-fits-all mix.
- ColorPlus factory finish: A baked-on finish applied under controlled conditions holds up better against salt air and UV than field-applied paint, and it's backed by its own finish warranty.
- Non-combustible material: Fiber cement doesn't burn, which matters for wildfire-adjacent exposure and simply for peace of mind on a home you plan to keep for decades.
- Dimensional stability: It won't swell, cup, or rot the way organic materials can when it stays damp for extended periods, which is a real factor during Skagit County's long wet season.
- Transferable warranty backing: A strong manufacturer warranty that can transfer to a future buyer adds real value if you ever sell the home.
We install Hardie because it's the one fiber cement system built specifically to handle years of exposure like Conway sees, not because it's the only option on the market.
What a Correct Install Actually Involves
Fiber cement siding is only as good as the installation underneath it. In a climate that pushes water at walls from multiple directions, the details most homeowners never see are what determine whether the siding performs for decades or causes problems in five years.
Water-Resistive Barrier and Flashing First
Before a single piece of siding goes up, the wall needs a continuous, properly lapped water-resistive barrier, and every window, door, and penetration needs flashing detailed so water sheds outward and down — never trapped behind the siding. This is the step that matters most in a wind-driven-rain environment, and it's invisible once the job is done.
Clearances and Fastening
Fiber cement needs correct ground and roofline clearances to avoid wicking moisture from splash-back or trapping water at horizontal surfaces — a real consideration on Conway's flat, low-lying lots where ground moisture and standing water are more common than on sloped sites. Fastener placement, spacing, and type also have to match manufacturer specs; get it wrong and you create stress points or open paths for water.
Joints, Caulking, and Paint Lines
Butt joints, trim intersections, and caulk lines are where driving rain finds weaknesses first. Correct installation uses factory-mitered or properly flashed joints and the right sealant for a coastal-adjacent climate, applied so it can actually do its job for years, not just look finished on install day.
Our Process for a Conway Installation
- On-site assessment: We walk the home, check existing siding and sheathing condition, and note exposure — which walls take the most wind-driven rain, which stay shaded and moss-prone.
- Tear-off and substrate check: Old siding comes off and we inspect the sheathing underneath for hidden moisture damage before anything new goes up.
- Water-resistive barrier and flashing: A continuous barrier and properly detailed flashing at every window, door, and penetration go in before siding.
- Hardie installation to spec: Panels or planks installed with correct clearances, fastening, and joint treatment, following James Hardie's published installation requirements.
- Trim, caulking, and finish work: Corner boards, trim, and sealant applied with attention to the joints most exposed to wind-driven rain.
- Walkthrough and cleanup: We review the finished work with you and clean the site before we consider the job done.
Living With Fiber Cement in This Climate
One of the appeals of correctly installed Hardie siding is how little ongoing work it asks for compared to wood or repainted materials — but "low maintenance" doesn't mean "no maintenance," especially with Conway's moss exposure.
- Rinse siding with a garden hose once or twice a year, focusing on shaded north- and tree-covered walls where moss and algae are most likely to start.
- Trim back vegetation and tree limbs that keep siding shaded and damp longer than necessary.
- Check caulking at trim joints and penetrations periodically and have gaps resealed before they become entry points for water.
- Keep gutters and downspouts clear so roof runoff isn't dumping extra water down a wall section.
- Watch for any soft spots, staining, or moss buildup near ground level, where splash-back and low clearance are most likely to cause issues.
Cost Factors for Fiber Cement Siding in Conway
Every home is different, but the same handful of factors drive most of the cost variation we see on fiber cement projects in this area.
| Factor | How It Affects Cost |
|---|---|
| Removal of existing siding | Multiple layers or damaged sheathing underneath add labor and repair costs |
| Home size and number of stories | More wall area and taller walls increase material, labor, and access costs |
| Trim and architectural detail | Homes with more corners, gables, and trim work take more time to detail correctly |
| Hidden moisture damage | Rotten sheathing or framing found during tear-off requires repair before siding goes on |
| Product line and profile | Lap siding, panel systems, and shingle-style profiles carry different material costs |
| Color and finish selection | Factory ColorPlus finishes vs. field-painted primed product affect both cost and long-term upkeep |
We give every homeowner a clear, itemized estimate after an on-site look at the home — not a guess over the phone.
Why Local Experience in Skagit County Matters
A crew that already works Conway and the rest of Skagit County has seen how salt air, driving rain, and moss actually behave on homes here — not in a manual, but on real jobsites through multiple wet seasons. That experience shows up in the small decisions: where extra flashing attention is worth it, which walls need a closer look at ground clearance, and how to sequence a job around this area's weather instead of fighting it. It also means faster access to materials, a crew familiar with local permitting, and a company that will still be around locally if you ever have a warranty question years down the road.
If you're weighing siding options for a home in Conway or elsewhere in Skagit County, we're happy to take a look and walk you through what correct installation looks like for your specific home. Reach out for a free, no-pressure estimate using the form below.