 Skagit County
 New-Construction Windows in March Point
March Point sits close to the water on the Skagit County side of Fidalgo Bay, which means homes here take a steadier beating from salt-laden air and wind-driven rain than houses just a few miles inland. If you're building new, adding a room, or stripping a house down to the sheathing for a full re-side, the windows you put in — and more importantly, how they're integrated into the wall — are one of the few decisions that's genuinely hard to fix later. Get the install right the first time and it's a non-issue for decades. Get it wrong and you're chasing rot behind the trim in five to ten years.
This page is specifically about new-construction windows — the flanged, nail-fin style units installed during framing or a full exterior strip-down, before siding and trim go back on. That's a different job than a retrofit or "pocket" replacement window dropped into an existing frame, and it deserves its own explanation.
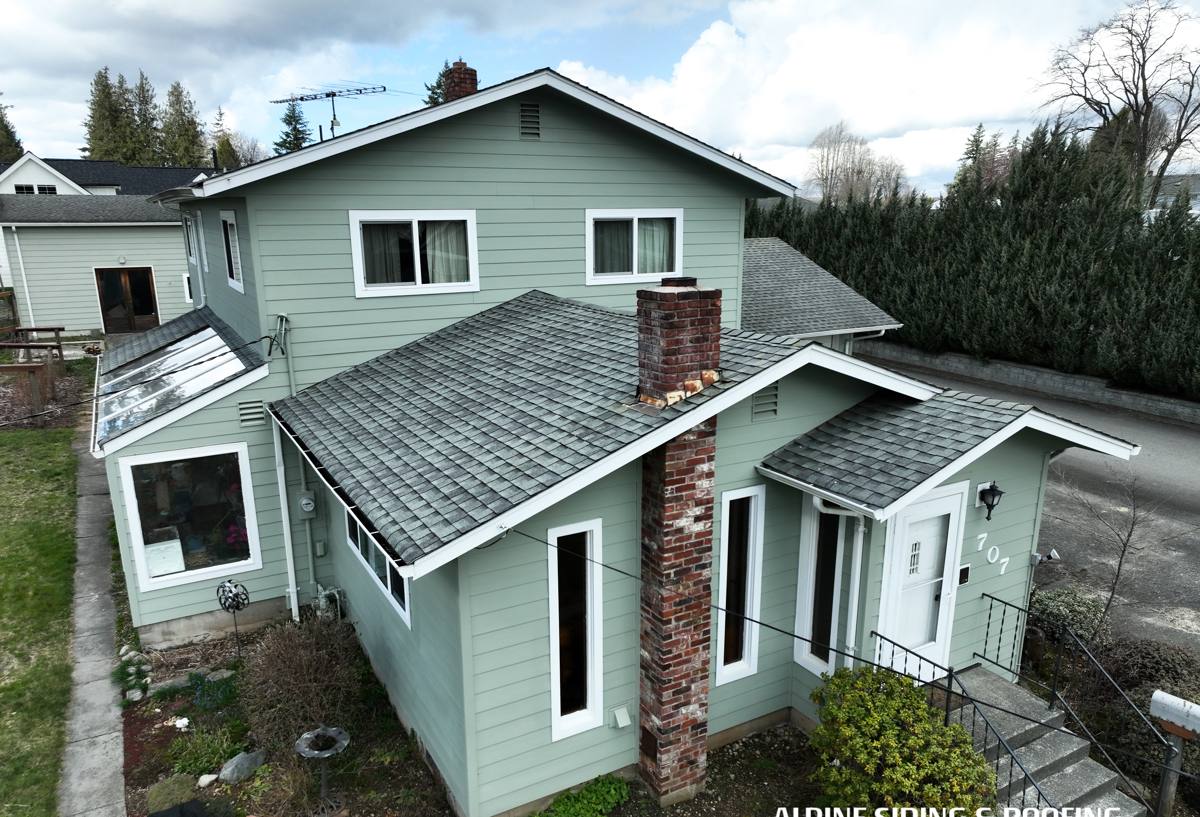
New-Construction vs. Replacement: Why the Distinction Matters
A lot of homeowners use "new windows" to mean any window project, but the install method changes everything about what's possible and what's required.
- New-construction (nail-fin) windows have a flange around the perimeter that gets fastened to the sheathing and integrated with the house wrap and flashing before siding covers it. This is the standard approach for new builds, additions, and any project where the siding is already off or coming off.
- Replacement (insert) windows are sized to slide into the existing window opening, keeping the surrounding trim and siding in place. Less invasive, but you inherit whatever flashing and framing condition is already behind that opening.
If you're framing new walls or already removing siding for a re-side, new-construction windows are almost always the better long-term choice — you get to build the water management system correctly from the sheathing out, rather than working around what's already there.
What Skagit County's Climate Actually Does to a Window Opening
Three things drive how we approach every install out here:
Salt air
Proximity to Fidalgo Bay and Padilla Bay means airborne salt reaches fasteners, flashing metal, and hardware faster than it would inland. We select corrosion-resistant fasteners and flashing materials with that in mind rather than defaulting to whatever's cheapest.
Driving rain
Skagit County storms regularly come in sideways off the water, which means rain gets pushed up and under trim, not just down onto it. A window installed with only face-caulk and no real flashing plane will eventually leak — it's a matter of when, not if. The flashing sequence has to assume wind-driven water will reach the opening and give it a way out.
A long moss season
Extended damp, shaded conditions here mean anything that traps moisture against wood — sills, trim, sheathing edges — stays wet longer than it would in a drier climate. That's exactly why sill pan flashing and back-ventilated details matter more here than they would in, say, eastern Washington.
What a Correct New-Construction Install Involves
The window unit itself is maybe 20% of what determines whether an opening stays dry. The other 80% is sequencing — the order in which house wrap, flashing tape, sill pan, and the window flange get layered so water always drains outward and down, never inward.
The basic sequence we follow
- Rough opening checked for square, level, and correct sizing before the window ever shows up on site.
- Sill pan flashing installed at the bottom of the opening, sloped or dammed so any water that gets past the window has a path back outside instead of sitting on the sill.
- House wrap or weather-resistant barrier cut and prepped so it will shingle-lap over the flange later — this has to be planned before the window goes in, not patched afterward.
- Window set, checked for level, plumb, and square, and fastened through the nail fin per the manufacturer's schedule.
- Flashing tape applied to the flange in the correct order — sides first, then top — so every layer sheds water onto the layer below it, never the reverse.
- Top flashing or a drip cap installed above the window to break up water flow before it reaches the head flange.
- Sealant used at specific transition points as backup, not as the primary defense — caulk is not flashing.
That "sides first, then top" rule matters more than it sounds like it should. If the top flashing goes on before the side flashing, water running down the wall gets funneled directly behind the window instead of over it. It's a small sequencing mistake that's completely invisible once the siding goes back on — and it's one of the most common things we find when we're called in to fix a leak.
New-Construction Install vs. Insert Replacement
| Factor | New-Construction (Nail-Fin) | Insert/Replacement |
|---|---|---|
| When it applies | New builds, additions, full re-sides | Existing siding staying in place |
| Flashing control | Full control — built from sheathing out | Limited to what's accessible in the opening |
| Disruption | Higher — siding/trim removed or not yet installed | Lower — minimal disturbance to existing finish |
| Long-term water management | Best possible, if sequenced correctly | Dependent on condition of existing flashing |
| Typical use case here | New construction, room additions, re-sides in March Point's exposed spots | Cosmetic/efficiency upgrades on sound existing walls |
Frame Material Considerations for This Climate
We don't push one brand — window selection should match the home, budget, and exposure. But a few honest trade-offs are worth knowing before you shop:
- Vinyl is the most budget-friendly and handles moisture well since it doesn't rot, but it expands and contracts more with temperature swings, which puts extra importance on correct flashing and a sealant joint that can flex.
- Fiberglass holds paint well and moves less with temperature change than vinyl, which some homeowners prefer for larger openings or south/west exposures that see more temperature swing.
- Wood-clad gives a traditional interior look but the exterior cladding still needs to be fully sealed at every joint — any gap in the cladding is a path for the salt air and moisture out here to start working on the wood underneath.
Whatever frame material you choose, we treat the installation the same way: correct flashing sequence first, product second. A premium window installed with a shortcut flashing job will underperform a mid-range window installed correctly.
Our Process for March Point Projects
Every new-construction window job we take on in this area follows the same basic path:
- Site walk and rough opening check — we verify openings are framed correctly before ordering, since a miss here causes delays and change orders later.
- Product selection — we walk through frame material, glass package, and performance options based on the home's exposure, not just the lowest quote.
- Flashing and install — done in the sequence outlined above, with photos taken at each flashing stage before it gets covered by siding, since that's the only chance to verify it later without opening the wall back up.
- Final check — operation, seal, and trim are inspected before we call the job done.
A Homeowner's Pre-Install Checklist
- Ask whether sill pan flashing is included as standard, not an upcharge.
- Confirm the flashing tape brand and whether it's compatible with your specific house wrap.
- Ask to see flashing photos before siding is closed back up.
- Verify fastener type is appropriate for coastal/salt-air exposure.
- Get the manufacturer's installation instructions referenced in your contract — most warranties require the install to follow them exactly.
Why a Local Crew Matters Here
A crew that only occasionally works near the water tends to install windows the same way everywhere, because most of their jobs don't demand more than that. A crew that works March Point and the rest of Skagit County regularly treats sill pan flashing and shingle-lap sequencing as the default, not an upsell, because we've seen what driving rain off the bay does to a shortcut install a few years down the line. We also know the local building department's inspection expectations for flashing and drainage, which keeps your project moving instead of getting flagged and delayed.
New-construction windows are a one-shot install — once the siding is back on, the flashing behind it is out of sight for the life of the house. That's exactly why the sequencing and materials matter more than the brand name on the window sticker.
Get a Free, No-Pressure Estimate
If you're framing new walls, adding on, or planning a full re-side in March Point or elsewhere in Skagit County, we're happy to walk the project with you and give you a straightforward estimate — no pressure, no upsell script. Use the form below to get started.